
Deploying SvelteKit apps to Azure Static Web Apps
Note: SvelteKit is currently in early development. As such, things may be different than the post below. This post was lasted updated on 18 May 21.
SvelteKit is a framework built on top of Svelte, my current favorite front-end framework. Svelte is based around svelte files which closely resemble standard HTML/JavaScript files, making it feel rather natural. SvelteKit is designed to enhance the Svelte development experience by providing bootstrapping, a build/dev toolkit, a routing engine, and server-side rendered pages.
Azure Static Web Apps is a new hosting solution for Azure, designed for so-called “static web apps”. While the name includes the word “static”, you can still host server-side code through Azure Functions, which are part of the Azure Static Web Apps offering. Deployment is handled through GitHub, which is great since chances are you’re using GitHub for your source code anyway.
Let’s walk through the process of setting up an application built with SvelteKit for deployment to Azure Static Web Apps. I am going to assume core knowledge of npm and GitHub, and the use of Visual Studio Code (because of course 😊).
SvelteKit project creation
Let’s start by creating a SvelteKit project. Obviously if you already have one (and it’s deployed to GitHub), you can skip to the next section.
As highlighted earlier, SvelteKit will bootstrap your applications. Start by creating an application with SvelteKit and pushing the code to GitHub.
- Create the project:
npm init svelte@next swa-demo
You will be prompted with a wizard to configure your application. For our purposes, we’ll select No for TypeScript, No for ESLint, and No for Prettier.
- Initialize your local git repository, add all the code and create an initial commit
npm install
git init && git add -A && git commit -m "Initial commit"
- Create a new create a new repository on GitHub
- Push your code (replacing the placeholder text with your new GitHub repository URL)
git remote add origin <YOUR_GITHUB_REPOSITORY>
git branch -M main
git push -u origin main
Configure SvelteKit build process
As with any modern web application, a build process is necessary to prep all the files for production and browser consumption. If you’re going to deploy your application to Azure Static Web Apps, you’ll need to configure how the application is built. SvelteKit allows you to control the process through the use of adapters.
For Azure Static Web Apps, the adapter-static fits the bill perfectly. adapter-static will generate static HTML and JavaScript files, which is exactly what we want for Static Web Apps.
- Install
adapter-staticas a dev dependency:
npm install --save-dev @sveltejs/adapter-static@next
- Open svelte.config.js, which is the file used to configure SvelteKit.
- Add the
importstatement to the top of the file to import the adapter:
import adapter from '@sveltejs/adapter-static';
- Add the following property to the existing
kitobject insideconfig:
adapter: adapter({
    // default options are shown
    pages: 'build',
    assets: 'build',
    fallback: null
})
This will place all generated pages and static files (CSS, images, etc), into a folder named build, and not have a fallback file for single-page applications.
If you started from scratch, your svelte.config.js will contain the following:
import adapter from '@sveltejs/adapter-static';

/** @type {import('@sveltejs/kit').Config} */
const config = {
    kit: {
        // hydrate the <div id="svelte"> element in src/app.html
        target: '#svelte',
        adapter: adapter({
            // default options are shown
            pages: 'build',
            assets: 'build',
            fallback: null
        })
    }
};

export default config;
-
Save all files. Your application is now configured! If you wish to view the output, you can run npm build and view the newly generated build folder.
-
Commit and push your changes to GitHub by running the following commands:
git commit -am "Configured build"
git push
Deploy to Azure Static Web Apps
You have a project which is ready to go! Let’s deploy the project using the Azure Static Web Apps extension in Visual Studio Code.
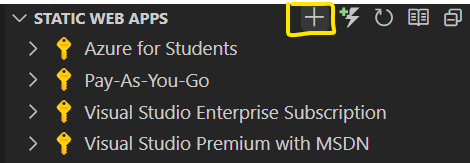
- Select the Azure icon in the toolbox
![]()
- Inside Static Web Apps, select Create Static Web App
- When the wizard starts, select the Azure subscription you wish to use.
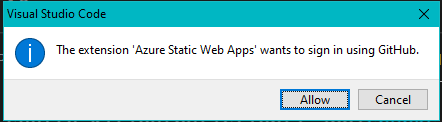
- When prompted to authorize Visual Studio to access GitHub, select Allow and Continue
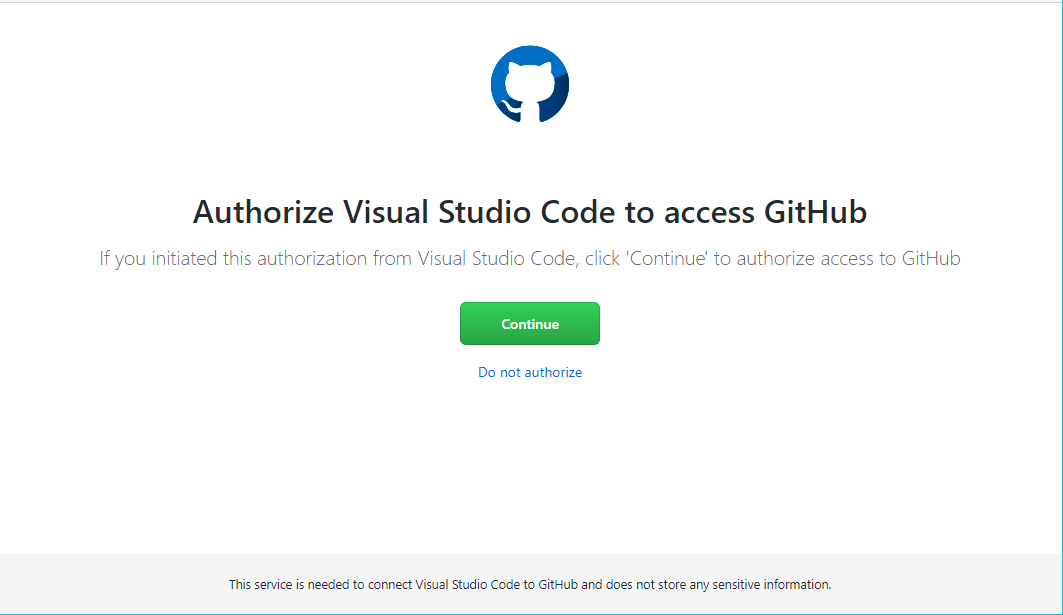
- When prompted to allow the extension to open a URI, select Open
- Complete the wizard to configure the deployment by using the following values:
- Name: swa-demo
- Preset: Custom
- Location of your application code: /
- Location of your build output: build
The deployment will now start!
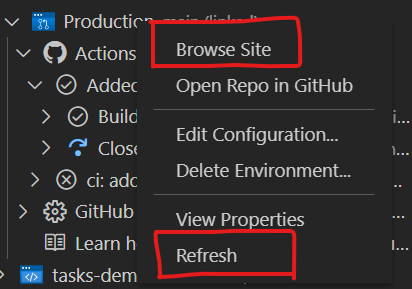
The Actions section will indicate the deployment status. You can right-click on Production and select Refresh to update the status.
Once the deployment shows as completed (should only take a couple of minutes), you can then select Browse Site.
Congratulations! You have deployed a SvelteKit application to Azure Static Web Apps!
Next steps
Azure Static Web Apps provides hosting and a fair number of other services. You can add a Mongo database through Cosmos DB, and quickly enable authentication. And you can continue to explore Svelte.